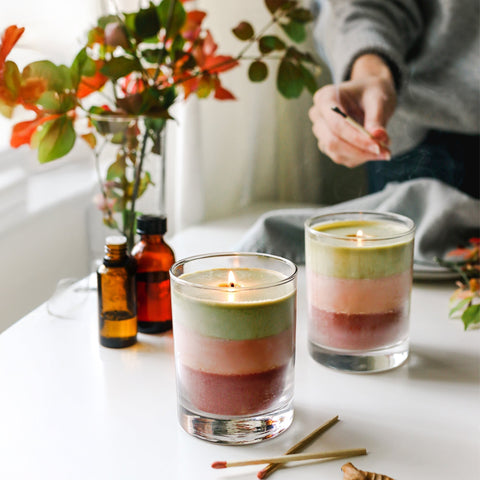
Mastering the art of candle-making requires calmness and attention to detail at every stage.
Before you start candle making, it is important to prepare your workspace, as wax can be messy! Choose a clean, flat surface and remove anything that might get splattered. Have your Smello moulds and wicks ready, as the process can move quickly.
Weigh your wax; for this example, you’ll need 165g to fill a 20cl glass.
TIP: If unsure how much wax to use, fill your container with water, pour it into a measuring jug, and note the volume in millilitres. Subtract 20% from this volume to estimate the grams of wax needed.
1. Heat your choice of Smello wax to 70°C while stirring gently. Different waxes have varying melting points, so do not exceed 80°C. This typically takes about 10 to 15 minutes. You can melt the wax in a pan over low heat or use a double boiler by placing a glass bowl in a pan filled halfway with water.
2. While the wax melts, wash your candle glasses in hot water to ensure they’re clean and dry. Place them on a flat surface to prevent spills.
Attach the wick’s ‘Stick Ums’ to its base and position it firmly in the centre of the glass. Use a wick-centring tool to keep it upright. Alternatively, secure the wick with melted wax by dipping the sustainer into the molten wax and placing it in the centre.
3. Once melted, pour the wax into the Smello jug for easy handling. Allow it to cool to 65°C before adding the Smello fragrance oil of your choice, stirring gently for even distribution. Aim for up to 10% fragrance oil; for example, 100g of fragrance will scent 1kg of wax.
Avoid adding fragrance when the wax is too hot to prevent evaporation and loss of scent strength.
4. Next, colour your wax, either before or after adding Smello fragrance of your choice. Open your dye chip bag and add a few chips to the melted wax, stirring until dissolved. Generally, use about 0.2% dye—meaning a 10g bag will colour 5kg of paraffin wax. For liquid dye, add a few drops at a time to achieve your desired shade.
5. To reduce shrinkage, warm your candle glasses before pouring. You can do this with a heat gun, hot water, or a hot water bath—just ensure no water enters the glass. Working in a warm room also helps.
Once your wax is mixed and cooled to 60°C, gently pour it into your candle glass, leaving about 1cm from the top. You can temporarily move the wick centring tool aside and reposition it later. Pour slowly to avoid air bubbles and return any leftover wax to the heating container. Let your candle set, ideally overnight.
6. As your candle cools, it may develop a sinkhole around the wick. This is normal and can be fixed in two ways: a) Use a heat gun or hair dryer to warm the top layer, allowing it to melt and fill the hole. b) Reheat leftover wax to 65°C and pour it gently into the sinkholes.
Once set, remove the centring tool and trim the wick to about 5mm. If desired, apply a label to the bottom of the glass. Your candle is now ready to be lit!
Note: This guide is a general introduction to container candle making. Variations in wax, fragrances, and dyes may affect the final product, so results can vary.
Disclaimer: The information provided in this guide is for educational purposes only. While we strive to offer accurate and up-to-date content, results may vary based on individual circumstances, materials, and methods. Always exercise caution and follow safety guidelines when using tools or materials.